
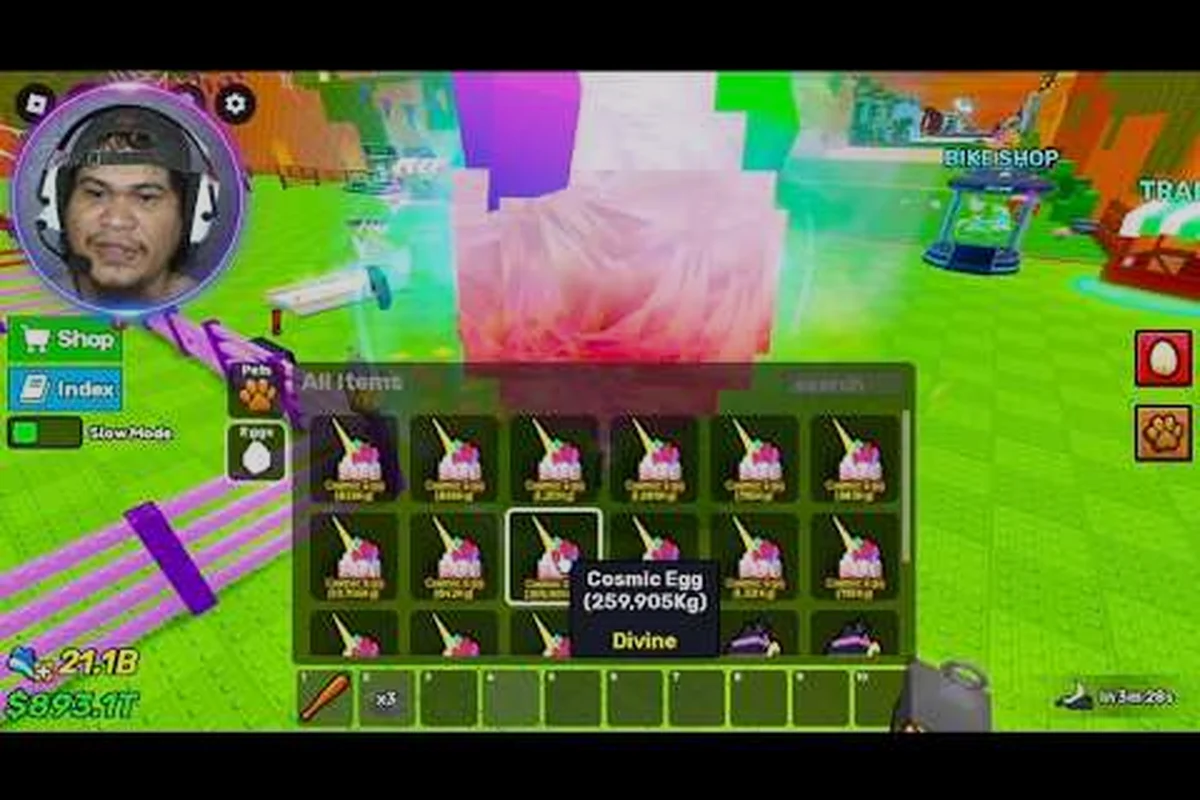
Every egg you crack in Bike For Egg! can come out plain, oversized, or washed in a strange new color, and knowing the best mutation tier tells you instantly whether that pull is worth keeping or selling. Size and color variants change what a pet is worth, so ranking them correctly protects your cash and your collection slots.
Why the Mutation Tier Matters More Than the Pet Itself
A mutation is a modifier layered on top of a base pet, and it can swing value harder than the species you hatched. Two players can pull the same Divine Unicorn and end up with wildly different outcomes depending on which size mutation or color variant landed on it. That is why the Bike For Egg best mutation tier is the first thing experienced collectors check before they decide to lock a pet into a slot.
The core logic is simple: mutations multiply the base value of a pet rather than replace it. A weak pet with a top-tier mutation can outperform a strong pet with a bad roll, and a giant size mutation on an already rare species is the closest thing this game has to a jackpot. Community reports consistently put oversized variants ahead of color-only variants, because size affects both display presence and trade interest.
Here is the rough value hierarchy players describe when trading: giant size mutations sit at the top because they stack a visible multiplier on any base species, mini or tiny size mutations land mid-tier since they are rarer to roll but harder to flip, rare color variants like Rainbow or Galaxy hold secondary value that depends heavily on the base pet they land on, common color variants add only a cosmetic bump, and plain pets stay at baseline with no multiplier at all. The gap between the top and bottom of that ladder is why a single lucky size roll can outweigh dozens of ordinary hatches.
-
Size mutations — the biggest single jump in perceived value, especially at the top end of the size scale
-
Rare color variants — strong secondary value, but heavily dependent on which color rolled
-
Common color variants — small bump, mostly cosmetic
-
Plain pets — baseline value with no multiplier at all
That ordering is not arbitrary. Size is visible from across the map and easy to verify at a glance, while color variants require a closer look and are more common overall. If you want the deeper numbers behind each size bracket, the size chart breakdown walks through how each tier translates into trade value.
The Full Mutation Tier Ranking
This is the ranking most players converge on after enough hatches. Treat it as a working tier list rather than gospel, since exact trade values drift as the player base grows, but the relative order has stayed stable in community discussions.
| Tier | Mutation Type | What It Looks Like | Value Impact |
|---|---|---|---|
| S | Giant size mutation | Massively oversized model | Highest multiplier, top trade demand |
| A | Large size mutation | Clearly bigger than default | Strong multiplier, easy to sell |
| B | Rare color variant | Uncommon hue, vivid pattern | Solid bump, collector favorite |
| C | Small size mutation | Noticeably shrunken model | Modest value, niche appeal |
| D | Common color variant | Slight tint shift | Minor bump, mostly cosmetic |
| F | No mutation | Default appearance | Baseline only |
The gap between S and A is smaller than the gap between A and B, which surprises a lot of new players. A large size mutation is already a great pull, and chasing a giant on top of it is a bonus rather than a requirement. Meanwhile, the jump from a common color variant to a rare one is where most of the color-side value actually lives.
One thing worth flagging: the tier list assumes you are evaluating the mutation in isolation. When a mutation stacks onto an already elite species, the whole package climbs. The pet tier list ranking covers which base species are worth mutating in the first place, and that context changes how aggressively you should chase S-tier rolls.
How Size Mutations Actually Scale
Size mutations come in distinct brackets, and each bracket behaves differently in practice. A small size mutation is not worthless — some collectors specifically hunt tiny variants for themed collections — but it does not carry the trade weight of the larger brackets. The scaling is not linear either; the top bracket jumps disproportionately in perceived value.
| Size Bracket | Relative Scale | Trade Demand | Keep or Sell |
|---|---|---|---|
| Giant | Far above default | Very high | Always keep |
| Large | Above default | High | Keep if species is decent |
| Default | Baseline | Standard | Depends on species |
| Small | Below default | Low but niche | Keep only for themed sets |
The practical takeaway is that you should almost never sell a giant, and you should think twice before dumping a large unless the base species is genuinely bottom-tier. Small variants are the ones where personal preference legitimately decides the outcome.
Color Variants and Their Hidden Ceiling
Color variants are trickier because the visual difference between a rare hue and a common tint can be subtle at a glance. Players report that color variants fall into two rough camps: vivid, high-contrast recolors that read as intentional, and faint washes that look almost like a rendering quirk. The vivid ones hold value; the faint ones mostly do not.
| Color Category | Visual Read | Collector Interest | Notes |
|---|---|---|---|
| Vivid rare hue | Bold, unmistakable | High | Best color-side outcome |
| Deep saturated tone | Rich, clean | Medium-high | Reliable secondary value |
| Pastel shift | Soft, noticeable | Medium | Popular with themed collectors |
| Faint tint | Barely visible | Low | Often mistaken for default |
Because color is harder to verify in a quick trade window, color variants tend to move slower than size variants. That does not make them bad — it just means the market for them is narrower and more collector-driven. In practice, a size mutation like a Large or Giant roll is confirmed the instant the pet model loads, so any player can price it on sight; a color variant demands that both trader and buyer already know the vivid-versus-faint distinction from the table above, which shrinks the pool of confident buyers. The result is a longer sell window for color-side mutations and a price that leans on the deep saturated and pastel tiers rather than spiking like a top size roll.
Reading the Mutated Pets List Without Getting Lost
The full mutated pets list is long enough that new players routinely misjudge what they are looking at. The trick is to separate the two axes: which species you hatched, and which mutation landed on it. Those are independent rolls, and conflating them is the single most common evaluation mistake.
A useful mental model is a grid. Species runs along one axis, mutation along the other, and the value of any individual pet is roughly where the two intersect. A mid-tier species with an S-tier mutation can beat a top-tier species with no mutation, which is exactly why the mutation tier deserves its own ranking rather than being folded into a general pet list.
If you are still building out your roster, the complete pets list with rarest pulls is the right companion read — it tells you which species are worth the egg investment, and this article tells you which mutation results are worth protecting once those species hatch.
Sorting Your Collection by Mutation First
When your inventory fills up, sort by mutation before you sort by species. This flips the usual instinct, but it matches how value actually distributes. A quick pass that flags every giant and large variant first means you never accidentally sell a top-tier roll while clearing out commons.
-
Flag all giant variants immediately, regardless of species
-
Flag large variants on anything above bottom-tier species
-
Review rare color variants next, prioritizing vivid hues
-
Clear plain pets and faint tints to free slots
-
Reassess small variants last, keeping only themed collection pieces
This order keeps your best pulls safe while you make room, and it takes far less time than evaluating every pet individually. Concretely, run the flag pass in a single sweep: tag every giant variant the moment it appears, then filter large variants against the species tier list so a large mid-tier pet outranks a small top-tier one, and only then scan rare color variants for vivid hues worth holding. Plain pets and faint tints are your delete buffer — clearing them first frees the slots you need so a giant roll never gets auto-sold mid-cleanup. Reassess small variants last, since most are only worth a themed collection slot, and you'll finish the whole sort in one pass instead of hovering each pet for a stat read.
Comparing Size and Color Head to Head
The size-versus-color question comes up constantly, and the honest answer is that size wins on average but color wins in specific niches. Size mutations are easier to verify, easier to trade, and carry a higher floor. Color variants have a lower floor but a surprisingly high ceiling for the right collector.
| Comparison Point | Size Mutation | Color Variant |
|---|---|---|
| Ease of verification | Instant, visible from distance | Requires close inspection |
| Trade liquidity | High | Moderate to low |
| Value floor | Solid | Weak |
| Value ceiling | Very high | High for rare hues |
| Collector niche appeal | Moderate | Strong |
| Best use case | Flipping and trading | Personal collection |
The practical rule most players settle on: chase size for trade value, chase color for personal satisfaction. If your goal is accumulating cash to keep hatching, size mutations are the more reliable path. If your goal is a collection that looks distinctive, a vivid rare color variant on a favorite species is worth more to you than its trade price suggests.
When a Color Variant Beats a Size Mutation
There are real situations where a color variant outperforms a size mutation. A vivid rare hue on a species that already has a strong collector following can command more than a large size mutation on a common species, simply because the buyer pool for that specific combination is more motivated.
The different pet sizes available also matter here. If you already own a giant of a given species, a second large of the same species adds little, while a rare color variant of that species fills a genuine gap. Duplicate-aware evaluation is where experienced collectors separate themselves from players who just chase the biggest number.
Practical Strategy for Mutation Hunting
Knowing the tier list is only half the job. The other half is structuring your hatching routine so you actually convert eggs into high-tier mutations instead of scattering your effort. The players who consistently land top rolls tend to follow a repeatable loop rather than hatching randomly.
The reference video players cite for Divine Unicorn farming, ubilet's Divine Unicorn mutation run, shows the batch-hatching approach in action: steal eggs repeatedly, hatch in groups, and evaluate results in bulk rather than one at a time. Bulk hatching is more efficient because mutation rolls are independent per egg, so volume is the only reliable lever you control.
| Step | Action | Why It Matters |
|---|---|---|
| 1 | Stockpile eggs before hatching | Batch evaluation saves time |
| 2 | Hatch in groups of five or more | Volume drives mutation odds |
| 3 | Sort results by mutation tier first | Protects top rolls from accidental sale |
| 4 | Keep giants and large variants | Highest expected value |
| 5 | Sell plain and faint-tint pets | Funds the next batch |
| 6 | Reassess rare color variants | Decide keep vs. trade per species |
Budgeting Eggs Around Expected Value
Not every hatch deserves the same investment. If you are hunting specifically for size mutations, put your eggs into species that already have strong baseline value, because the mutation multiplies whatever is underneath it. A giant on a weak species is still good, but a giant on a strong species is the outcome worth optimizing for.
The best pet to hatch comparison is useful here because it ranks species by return on egg spend, which is exactly the input you want when deciding where to aim your mutation hunt. Pair that ranking with this mutation tier and you have both halves of the decision.
Common Evaluation Mistakes
A few mistakes show up again and again in community discussions. The most expensive one is selling a large variant because it was not a giant — players chase the top bracket so hard that they undervalue the second one. The second most common is overpaying for a faint tint that looked more dramatic in the trade window than it does in the world.
-
Undervaluing large variants while hunting giants
-
Overpaying for faint tints that read as rare in poor lighting
-
Ignoring duplicates and stacking identical mutations
-
Selling before sorting and losing top rolls by accident
-
Chasing color on weak species instead of strong ones
Avoiding these five habits alone will put you ahead of most of the player base when it comes to mutation value. The gap is not cosmetic — it is arithmetic. A large variant that sits one bracket below giant still commands a meaningful premium over a normal roll, so dumping it to fund a giant hunt usually costs you more than the upgrade returns. Likewise, a faint tint on a mid-tier species loses to a clean, high-tier size mutation almost every time, because size brackets gate the top of the tier list while color only shifts value within a bracket. Sorting your inventory before any trade — grouping duplicates, flagging top size rolls, and separating strong species from weak ones — prevents the quiet losses that never show up in a single trade but compound across a session.
Frequently Asked Questions
What is the best mutation in Bike For Egg!?
The giant size mutation sits at the top of the tier list because it carries the highest trade demand and the largest value multiplier. Large size mutations rank just below it, and vivid rare color variants occupy the tier after that. Plain pets with no mutation sit at the bottom.
Are color variants worth keeping?
Yes, but selectively. Vivid, high-contrast rare hues hold real collector value and can beat a large size mutation on a popular species. Faint tints that barely differ from default are usually better sold to free up collection slots for stronger rolls.
Do size mutations stack with rare species?
They multiply rather than stack additively, so a giant mutation on an already rare species produces the highest-value outcome in the game. This is why players recommend aiming size hunts at species with strong baseline value instead of hatching randomly.
How many mutations are in the game?
The mutation system spans multiple size brackets — small, large, and giant — alongside several color categories such as vivid rare hues and faint tints, and the exact count shifts as the game updates. Community-maintained lists track the current set, and the relative tier order described here has stayed consistent across updates, so a giant size mutation still outranks a large one regardless of how many new variants get added.
Should I sell small size mutations?
Usually yes, unless you are building a themed collection. Small variants have niche appeal but low trade demand, so they occupy slots that could hold a large or giant. Keep one or two favorites and sell the rest to fund more hatching.
The Bike For Egg best mutation tier comes down to a simple priority: protect giants, respect large variants, judge color by vividness rather than novelty, and clear the rest to keep hatching. Sort by mutation before species, hatch in batches to maximize your rolls, and you will consistently convert eggs into pets that are actually worth the slot they occupy.